Door hardware comes in many forms ranging from designer inspired door handles, dependable home security products and reliable ancillaries to compliment the door opening. It’s a personal choice that needs to blend your aesthetic choices with functional security.
Your selection of a premium Gainsborough lockset or lever handle for example, is supported by a step-by-step Installation Instruction and template. Both are essential in helping you achieve the perfect fitment of your Gainsborough hardware. Whether you’re a first timer or you’ve become somewhat of a seasoned DIYer, having the right tools at your disposal is just as important. Installation of any type of door hardware relies on accurate measurement, door preparation and fitment.

Lets break the process down into three parts.
Always read the instructions first before commencing your project.
What you will need:
Tape measure
Pencil
Tape
Door wedge
Square Set
Supplied template
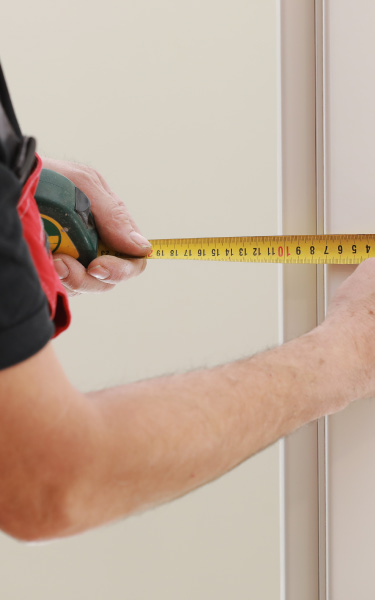
‘Measure twice. Cut once’ is how the saying goes and for good reason. The first step and the most important aspect of the installation is to ensure you’ve got your product selection right.
Will it fit? Depending on the door you’ve selected, sometimes decorative features of the door may impede on the door hardware selected.
Your Gainsborough hardware product will be supplied with a 1:1 scaled template which clearly show where door preparation is required. This will be your single source of accuracy before you attempt anything further.
☞ Always first wedge your door open to restrict movement.
☞ Choose and mark the intended height of your installed hardware
☞ Tape the template to the door
☞ Using a pencil, mark the desired hole locations.
Once the drill locations are marked, it’s best practice to check these dimensions as illustrated in the template.
What you will need:
Power Drill
Drill Bit Set
Hole Saw Set
Spade Bits
Chisel Set
Hammer
Take your time. You’ve got the most important step completed and now it’s on to some of the fun stuff. Differing products will use varying hole dimensions and its important to ensure that you have the right size hole saw and drill bits for the job.
Before you get started, think safety first and don’t forget your safety glasses.
It’s usually recommended that pilot holes be drilled first to help guide the bigger bore hole saw.
Its important that good, reliable cutting tools are used, your doors will be thankful for it. Most hardware stores do sell ‘lock installation kits’ which will comprise of carbon-metal saw bits suitable for use on the main bore hole as well at the latch hole. It’s always recommended to check the diameter of the hole saws supplied and that they match with the required holes as stated in the instructions.
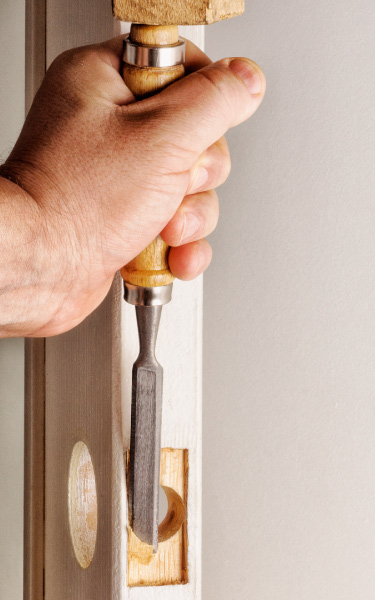
Face plate and strike plate preparation can be sometimes tedious where a slight recess (approx. 2mm) is required to be chiseled out. Remember that good quality tools which are SHARP, will make the job much easier. A handy tip here is to mark around the face plate/strike plate to outline your prep area for the chisel.
Remember to clean the any saw dust after drilling to provide a clean hole before installation.
What you will need:
Tape measure
Pencil
Tape
Door wedge
Square Set
Supplied template
It’s now time to pull out those installation instructions and read these again. Understanding the steps before you actually undertake the install makes for less chances of mistakes and having to pull the assembly apart to start again. It happens.
Identify all the components you need for each step and lay these out. The installation will normally begin with the internal mechanical componentry be it the locking assembly or latch, having these installed in the proper manner makes for perfect functionality once the final screw is tightened.
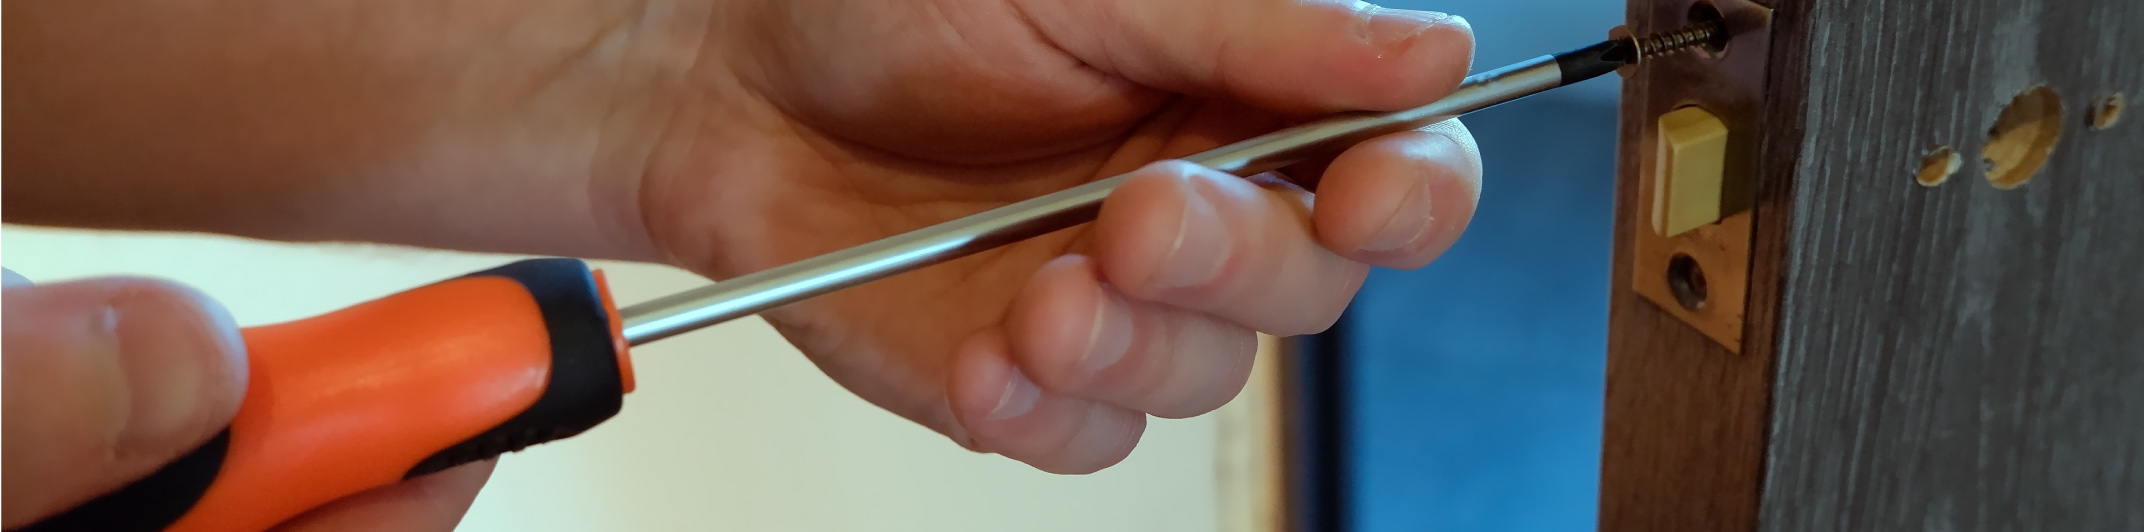
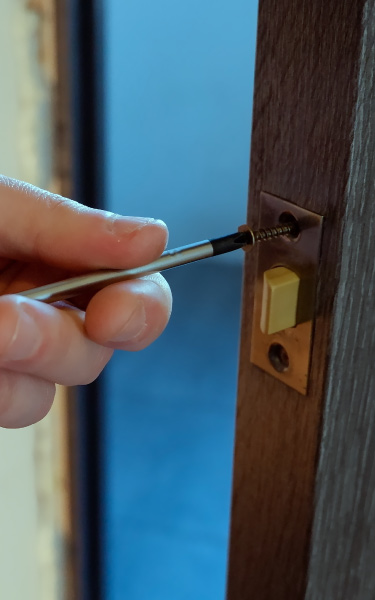
You can pack away the power tools and rely on hand tools from now on. A screw-driver is the ideal tool to be used when installing the threaded screws as this minimizes any risk in stripping the threads as you would when using a power driver for example. Hand tightened screws is more than ample here.
In some cases, door furniture may use hexagonal screws for increased security in the fixings which will prevent removal.